
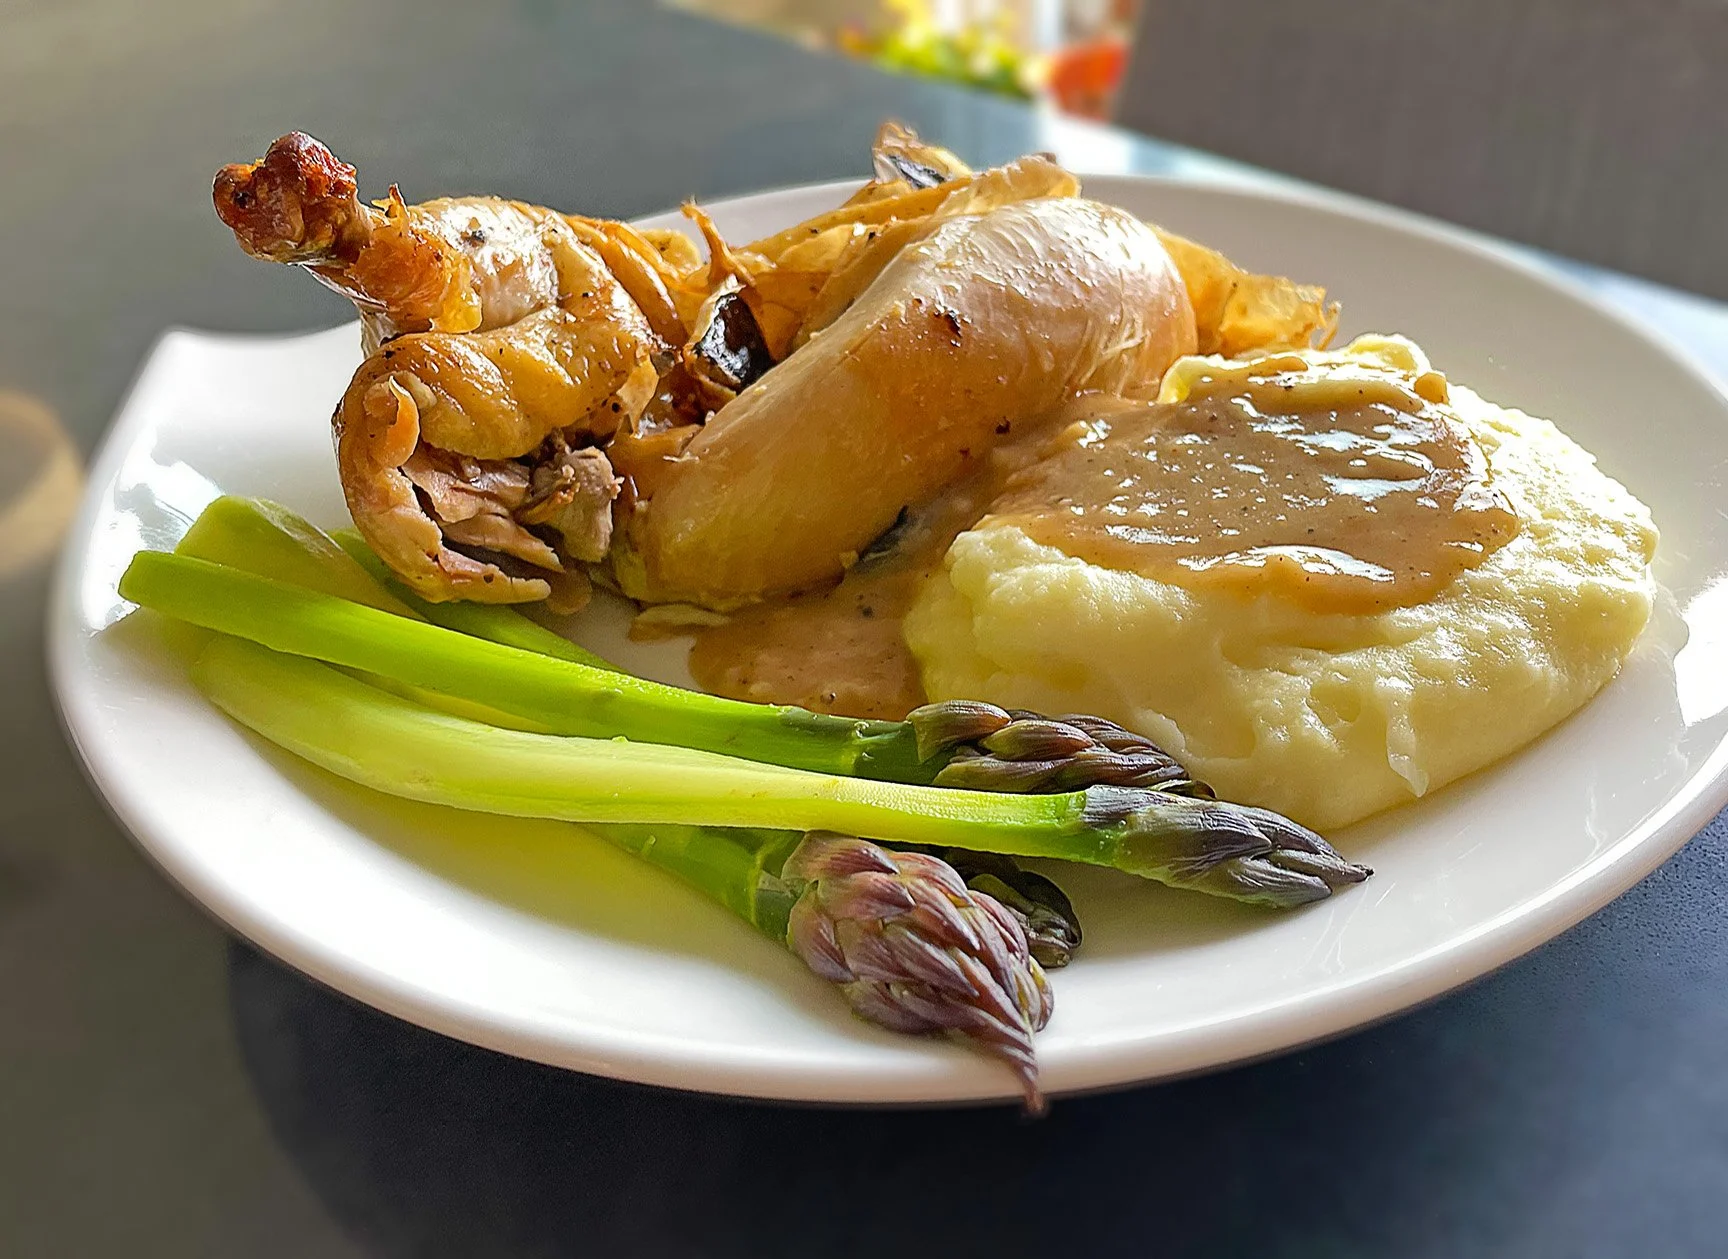
AIR-DRIED ROASTED CHICKEN
Reportedly, one of Julia Child’s favorite dishes, this is a classic preparation of chicken that many people aren’t familiar with and many people find a little strange in its pre-cook prep.
Air-drying a chicken requires committing to making it almost a week in advance but once you’ve made it you MAY want to just have a bird in your fridge at any time.
You’re going to let a chicken sit in your refrigerator UNCOVERED (!) for 6-7 days.
This is an INCREDIBLY EASY recipe (I just made it LOOK complicated here).
It takes just slightly over an hour to finish cooking!!!
Read through this next part to the end. It will comfort you to see how easy it is!
Start with…
…a 3 1/2 - 4 lb fryer chicken. Get a good one. Find one from a specific farm (easier now than just a few years ago) free range and as organic as possible. Sounds expensive but it won’t be. Probaby $10 or less.
Have some coarse sea salt on hand nearby. Make certain that the salt is NOT Iodized salt. Iodized salt has a metallic flavor that you absolutely want to avoid.
Start with removing the chicken from its packaging in a sink with warm running water to rinse it off. There may be a neck and “giblets” inside — remove and discard these.
Blot it dry with paper towels (disposable and most effective in drying the skin). Liberally salt the inside and outside of the chicken all over.
Trussing the legs isn’t critical here, but if you do have trussing string and know how to do it, go ahead with that at this point too.
Then put it, breast side up, into a low-sided container like Anchor Hocking bake wear or Tupperwear® — whatever you have on hand.
It’s perfectly safe in your fridge. You won’t need to worry about germs and bacteria as long as your fridge temp is below 40ºf (it is).
So here’s what that looks like. Now forget about it for a couple of days.

After two days turn the chicken over and with paper towels again, blot it dry on what was the underside and put it back in the fridge.
Two days later repeat that to bring it back to breast side up.
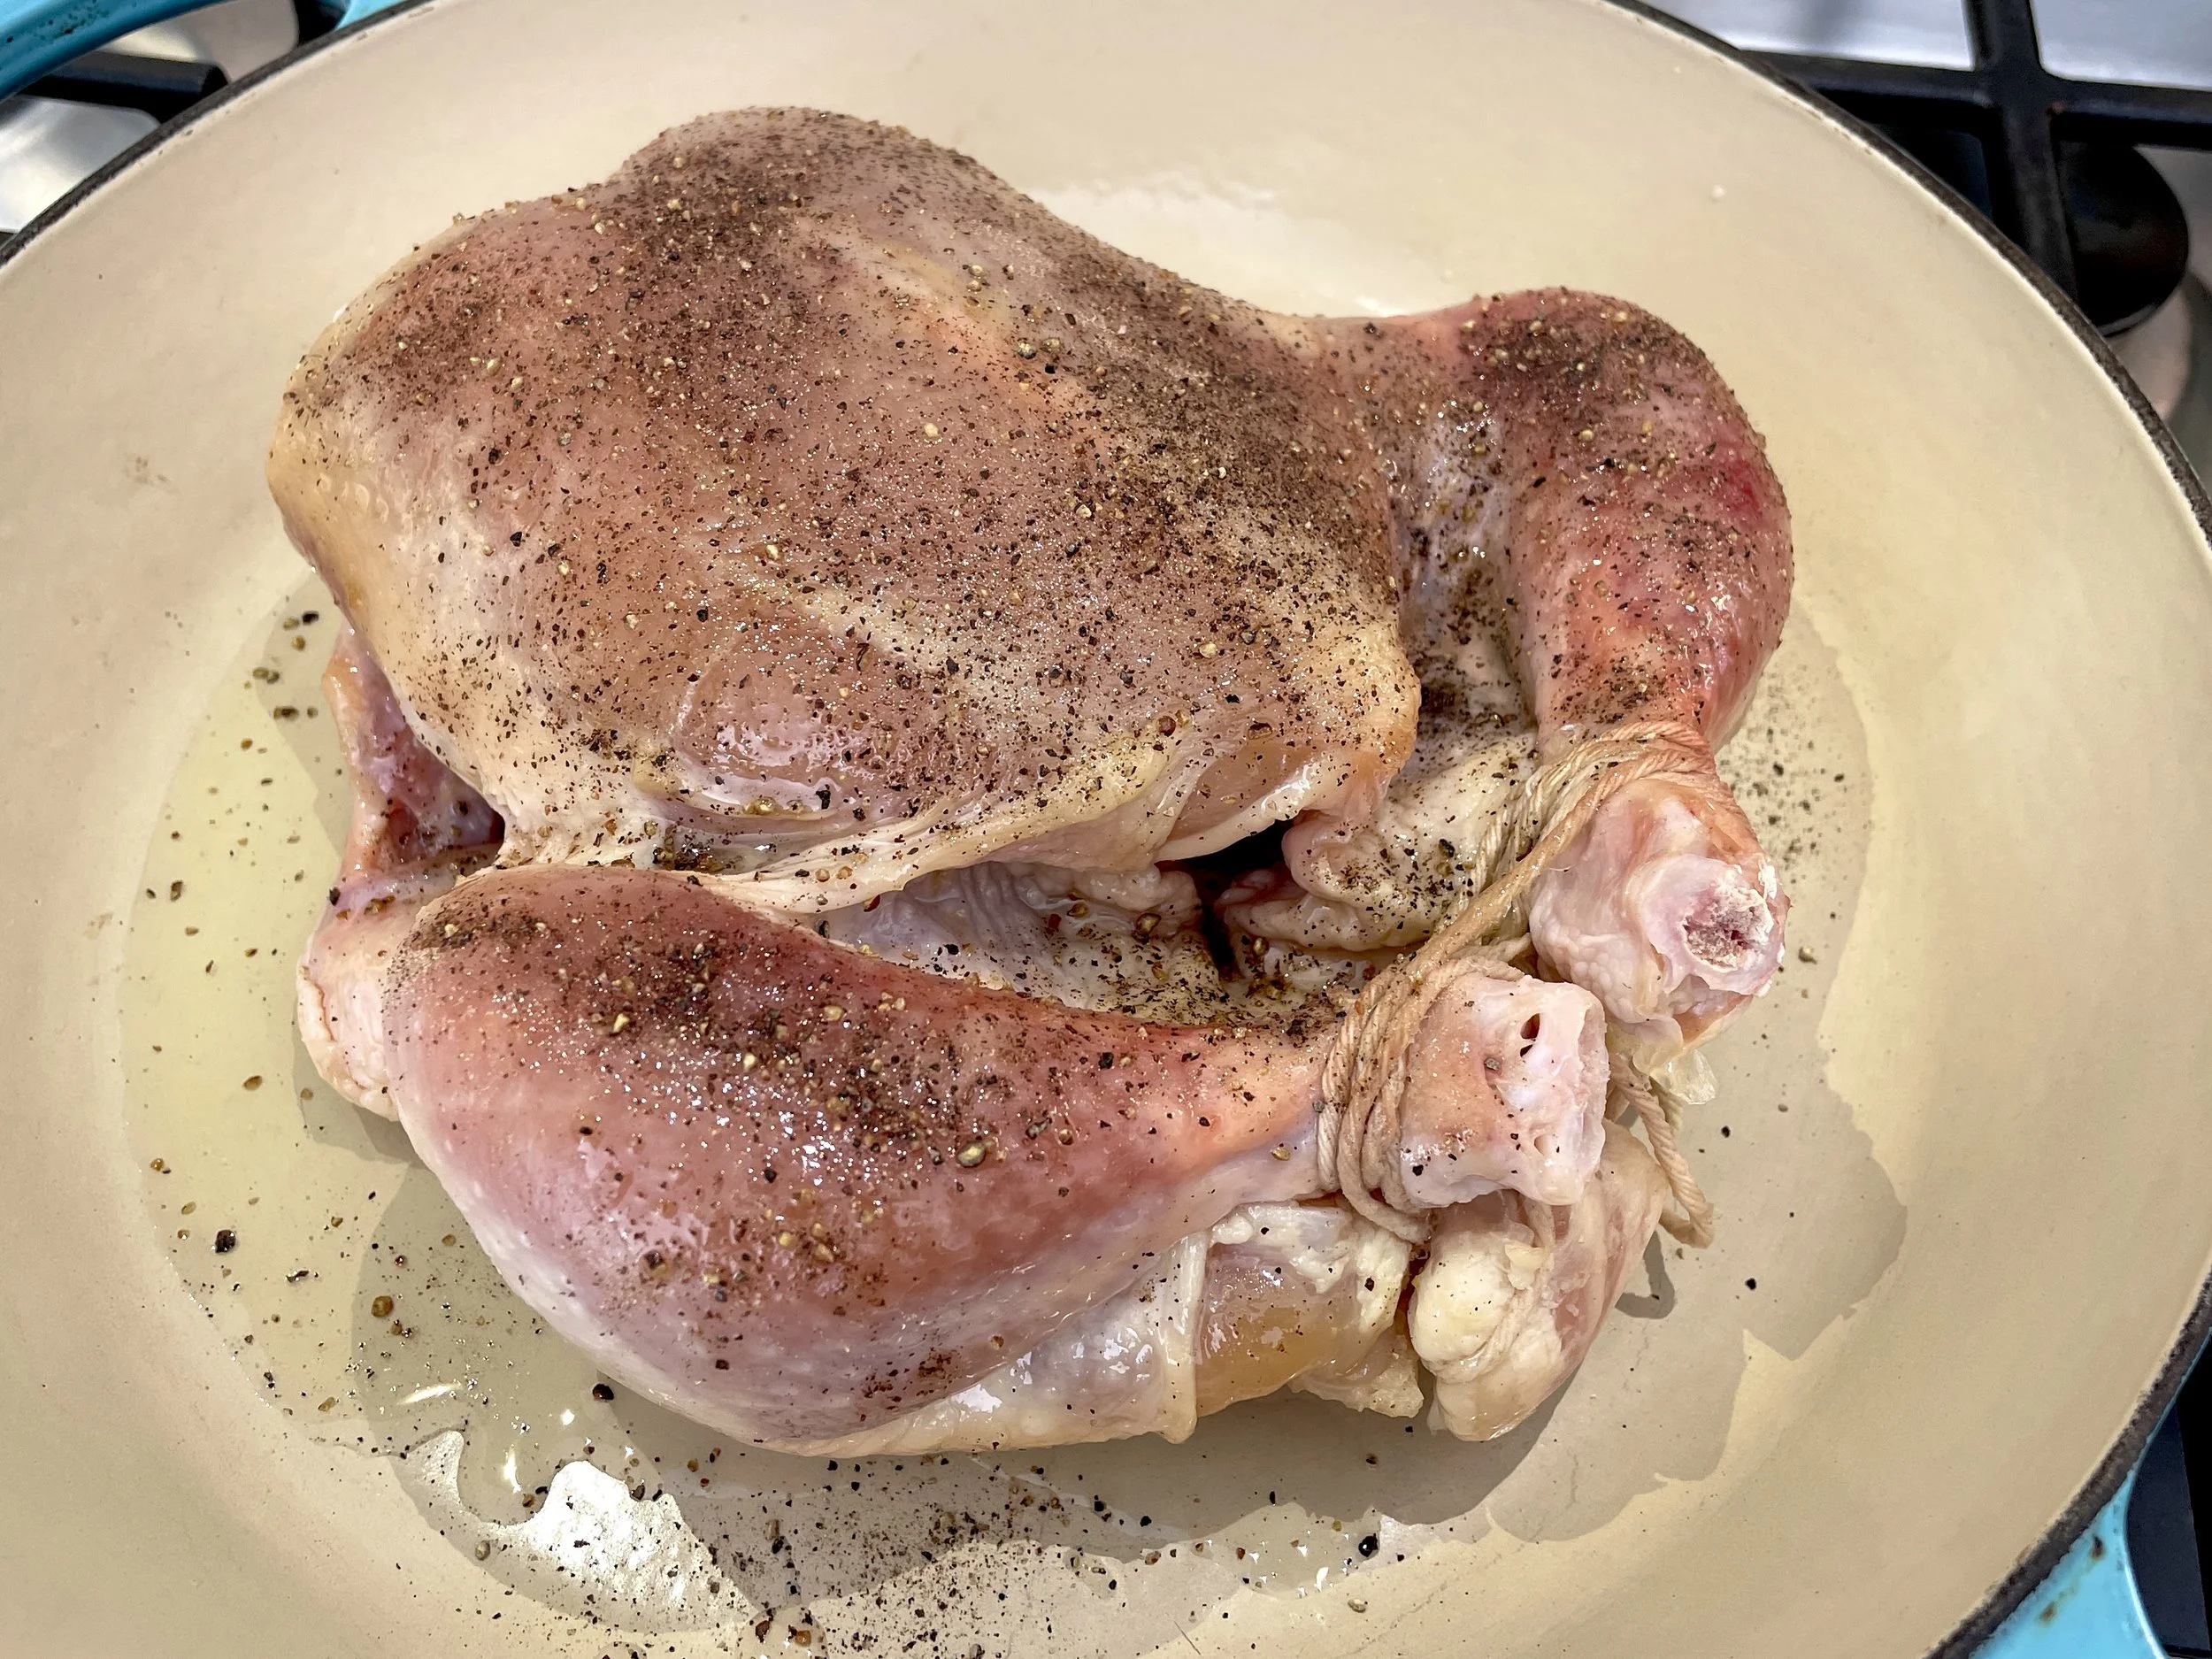
On day 6 or 7 it will look like this. The skin is so tight and transparent here, it almost looks like the skin clear. Yours MAY not look quite this clear but It’s READY!!!
Bring the chicken out of the fridge roughly 30-40 minutes before roasting.
Pre-heat your oven to 400ºf.
Place the chicken, breast side up, in a Dutch oven or raosting pan. There will be some spattering of grease so use a pot that isn’t to tight to the bird.
At this poiint you can add aromatics like onions, garlic, sage, thyme. I often rub the outside of the bird with softened butter, then simply salt and pepper it generously.
Now slide the uncovered pan into the oven and set the timer for 15 minutes. After that time, remove the pan. Lower the oven temp to 375ºf and CAREFULLY turn the chicken over.
Return it to the oven. Set the timer for another 20 minutes.
After that time repeat the process for turning it over. I use a spatula to get under the skin where it touches the pan so the skin doesn’t tear. You want that beautiful bird as unblemished as possible when you present it.
A little more time… 30 minutes at the same temp, 375ºf. Then bump it to 400ºf for a final 10 minutes. This will crisp the skin just a little bit more.
Bring the bird out of the pan and carefully put it in a bowl (pie pans are good for this) to let it rest and catch any juices that will drain from it.

If you want a traditional chicken gravy (who wouldn’t) go back to the roasting pan. With it on the stovetop remove all but a couple of tablespoons of drippings and grease. Turn the burner to low-medium and add a tablespoon to start. (you can add more if needed as you go) of all purpose flour or Wondra®* (if possible).
Whisk the flour into the pan and add whole milk, half and half or heavy whipping cream. Continue whisking until its the thickness and smoothness you like. Salt and pepper to taste and voila!
Enjoy!
*Wondra® is a reverse ionized flour. Reverse-ionizing keeps the flour particles from clinging to each other which makes it easier to get a relatively lump-free gravy.